Tumblr is a very easy to use platform for micro-blogging. It is very popular these days. Tumblr gives the simplicity and attractiveness that your blog deserves. You can post plenty of things on your Tumblr dashboard including photos, videos, links, text, etc.
But besides all these great things, you will need a great looking Tumblr theme for your Tumblog so that it stands out. It will get more attention from the visitors, thus, making your blog more popular. If you are a professional blogger, then, you would probably know how important it is to have a great looking theme design for the blog.
There are plenty of free themes available on the Internet but majority of these themes can’t give you the best results.
Using beautiful premium Tumblr themes is best for your blog.
- It enhances the experience of your Tumblog.
- It is more powerful and effective when it comes to attracting the visitors.
24,500+ CMS Templates, HTML Templates, Fonts and UI Kits are now available for just $29 per month with Envato Elements
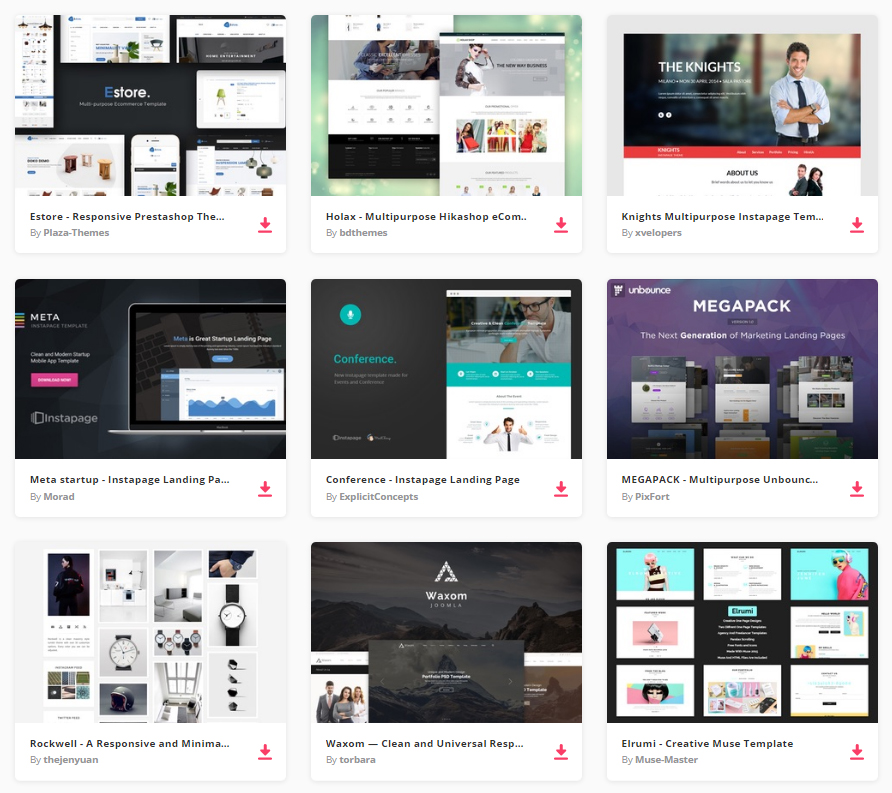
By joining Envato Elements you gain access to plenty of CMS Templates, as well as many other useful design elements. All of this is available for a single monthly subscription to Envato Elements. Join today, and gain access to a massive and growing library of 24,500+ creative assetswith unlimited downloads.
1. Twisting

2. Encore

3. Soupa

4. UMO Folio

5. Foundation

6. Brick

7. Pandora


8. MIMESI

9. Adventure

10. Felina

11. Serendipity

12. Empire

13. Ceres

14. Kylix

15. FRESCO

16. Impetus

17. Depth of Field

18. Scope

19. FLAT

20. Ellisium

21. Gridly

22. Popcase – $11

23. Photographica

Conclusion
The themes above are very helpful in increasing the popularity of blogs. All these themes vary in styles; some are grid-based while others are portfolio style.
But, each one of them provides you the perfect experience for the visitors. With these premium themes, everyone can easily start their own blogs and create the content whether in the form of videos, images or text.
Before leaving, please tell us which theme did you liked the most? Is there any other theme that should be in the list? Please share it with us in the below comment section.
This post may contain affiliate links. See our disclosure about affiliate links here.