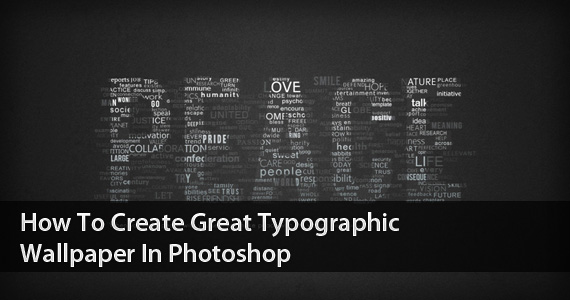
Even a beginner will be able to recreate this effect, and add their own style and thought to it.
I am sure you will enjoy and learn a lot from this tutorial! You will learn how to create a good looking background, add lightning effects and work with fonts, sizes, and colours to make the necessary places stand out.
Your Designer Toolbox
Unlimited Downloads: 500,000+ Web Templates, Icon Sets, Themes & Design Assets

Unlimited Downloads: 500,000+ Fonts, Web Templates, Themes & Design Assets

Step 1 – Creating a background
First, open a blank document with the size 1920×1200 pixels. Fill the background with color #242424. Duplicate the background layer and name it Film grain. Then go to Filter – Artistic – Film Grain. Apply the settings shown below.

Set layer opacity to 50%. So far your wallpaper should look like this.

Step 2 – Lightning
Create a new layer and name it Lighting. Then select the Radial Gradient Tool with black and white color.
![]()
Draw the gradient as shown below.

Set layer to Overlay and opacity to 55%. You should have something like this.

Step 3 – Adding Brushes
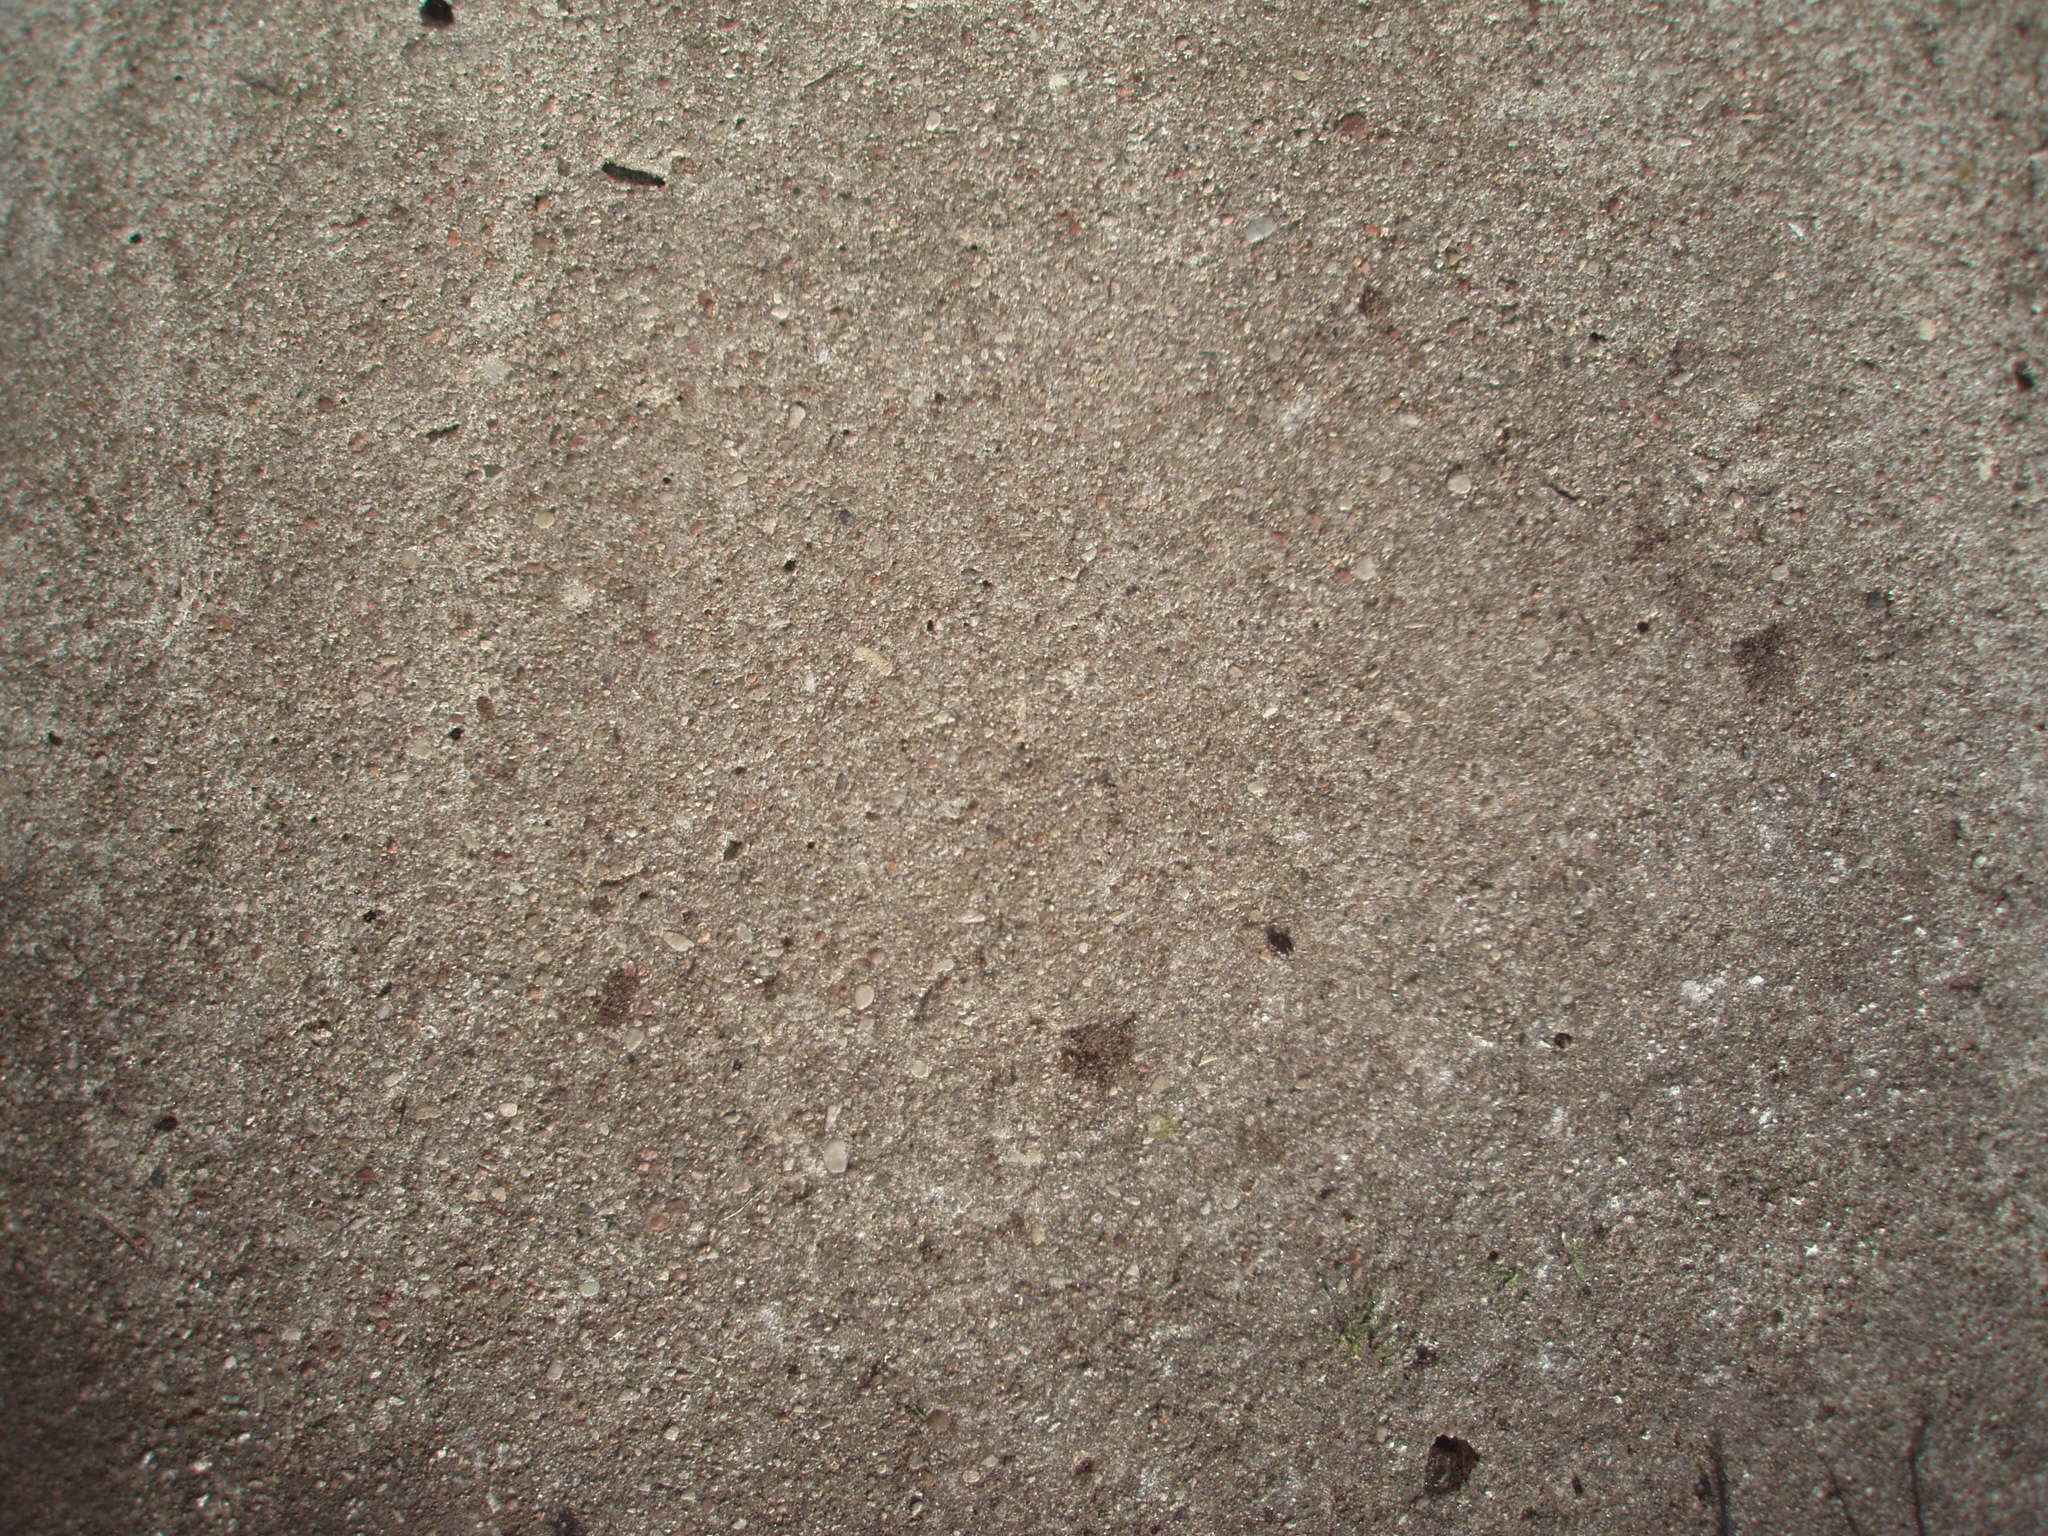
Download Adys grunge brushes, create a new layer and brush around a little bit. Set layer opacity to 15%. Download Concrete texture, place it in your document and set it to Overlay and opacity to 10%.

Step 4 – Creating Main Text
Download BEBAS font, create a new layer and type your text. I chose 350 pt size with smooth mode. Color really doesn’t matter. Name layer PEACE.

Step 5 – Add Background Text – Important Step
Lower your text opacity to around 15%. Create a new group (Layer – New – Group) and name it Words. Create new type layers in this group and start typing. Try to use different fonts and sizes. Try to avoid large spaces between words. The fonts I used:
- Arial
- Cambria
- Candara
- Impact
- Tahoma
- Times New Roman
- Verdana
- And little bit more default fonts
- Some free fonts from dafont, Colaborate, Extravaganzza


Step 6 – Creating the Effect
When you’re done, duplicate your Words group (Layer – Duplicate Group) and merge it (Ctrl+E). Make invisible your unmerged Words group. Find your large text layer (in my case it’s PEACE), hold CTRL (Command on mac) and click on the layers thumbnail. That should load it’s selection.

Then click on your merged words layer and press Ctrl+J. If you make invisible your merged Words layer (and unmerged Words group is still invisible) you should get something like this.

Step 7 – Create Background Text Effect
Make merged Words layer visible again and apply following layer style.

Set layers opacity to 30%.

Then duplicate merged Words layer and place it under merged Words layer. Then go to Filter – Blur – Motion Blur and apply following settings.

Set layer opacity to 15%.

Add text under your title if you want.

Step 8 – Final Touches
Locate your PEACE text layer and lower its opacity to 4%.

Create new layer, go to Image – Apply Image, then go to Filter – Render – Lightning Effects and apply the following settings.

Set layers opacity to 30%, and we’re done. I also added a gradient map to one of the letter layers. Here’s final result. Click to enlarge.

Download all of the wallpapers or download the PSD version.
This post may contain affiliate links. See our disclosure about affiliate links here.

