A blog is more of a general feel than a specific category. It can be used as a means of sharing your ideas and interests – be it personal or for a cause. There are people who blog for money, there are those who blog about their daily lives. It depends on how you want to use a blog.
A few types of Blogs:
- Personal – it speaks for itself. A blog where people share whatever is in their heads.
- Niche – a blog focused on a specific category, or a range of it such as 1stwebdesigner with the web design and web development categories.
- Micro-niche – micro-niche blogs are similar to niche blogs, only the topic is very specific. Example categories are: weight loss, TV reviews, power tools, meditation, and many more.
For the last two, people often leverage the traffic they receive and convert them into revenue via advertisements or affiliate sales.
Quick Jump:
- How To Build a WordPress Blog
- Recommended WordPress Themes
- How to Install a WordPress Theme
- Recommended WordPress Plugins
- How to Install a WordPress Plugin
- Showcase of Estalished WordPress Blogs
- WordPress Blogging Tips
How to Build a WordPress Blog
A few reminders regarding self-hosted and free blogs:
- self-hosted blogs cost money, either monthly or yearly
- self-hosted blogs, in every sense, are more professional
- self-hosted blogs give you total control over features and scalability
- free blogs are, well, free and you won’t have to setup anything
- free blogs are the way to go if you’re just thinking of having an online journal, nothing serious
- free blogs have a set of fixed features – with this you won’t have to touch a single line of code
Self-hosted means you’ll have a domain name of www.yourname.com, while a free blog will give you yourname.blogspot.com. In any case, we will focus on self-hosted blogs in this guide.
Here’s a quick video on how to host your own blog and install WordPress:
Recommended WordPress Themes
There are thousands of WordPress themes out there, free and premium, and it will take you an entire week just to pick the one suited for your needs!I’ve taken the liberty of selecting two premium themes and two free themes so you can get started easily.
Notes
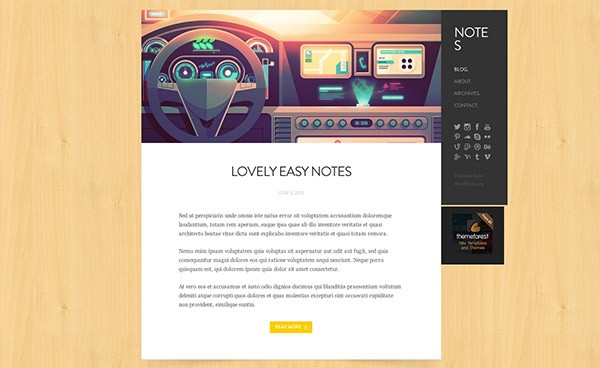
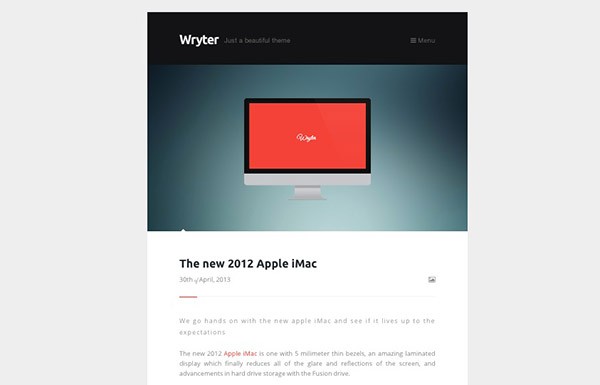
Wryter
Best
How to Install a WordPress Theme
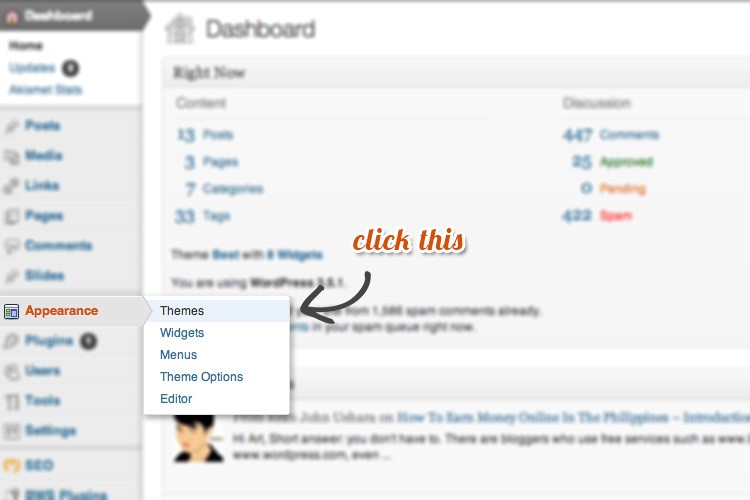
Installing a WordPress theme is easy, all you need to do is login to your dashboard and hover your cursor on “Appearance” and a window will slide out, click on “Themes”
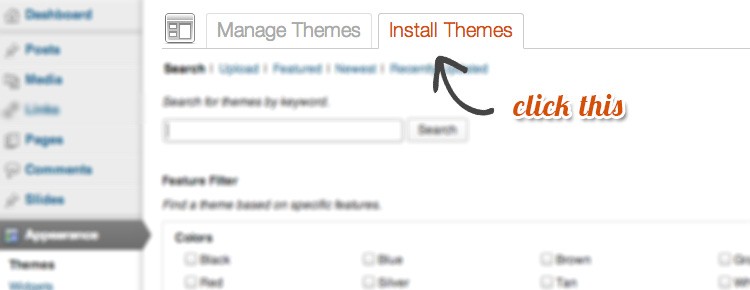
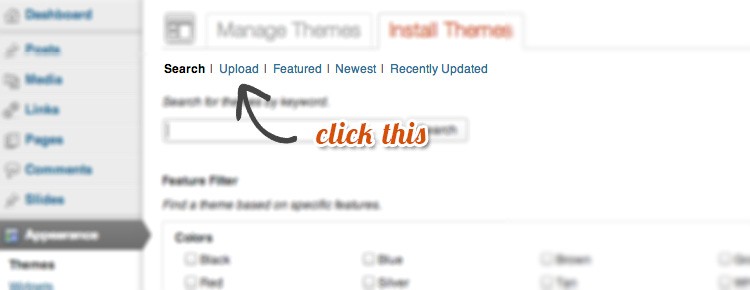
After clicking on “Themes” a new page will appear. By default you will see two themes for the fresh installation. In order to install a new WordPress theme, you need to click on “Install Themes”.
Now you have two options:
- Install via upload
- Install via search
To install by uploading, of course you will need to download the WordPress theme files. After doing so, simply click on Upload.
The next steps will be pretty straightforward:
- after clicking upload, a new page will appear
- click on “choose file” and select your WordPress .zip file
- click “install now”
- followed by “Activate”
Your new WordPress theme is now ready!
Recommended WordPress Plugins
For the setup of each plugin, it would be impractical to write a step-by-step guide for each of them since the authors of these plugins have written a guide themselves. All you need to do is follow the links and read the guides – in-depth and to the point!
W3 Total Cache
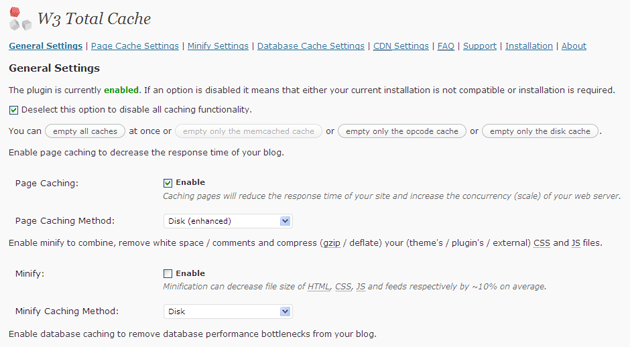
The most recommended caching plugin for WordPress. What it does is it speeds up your blog, making your website a more desirable experience for every user. It can also save you bandwidth, as it minimizes the downloads and requests made by the user from your server.
Bandwidth is the amount of data your server can accommodate. The more people downloads or requests your website gets, the more bandwidth you are using. When you reach your maximum bandwidth, your website will run very slow and might even go offline.
You can find an in-depth installation guide for W3 Total Cache on the download page itself. It’s tedious, but the time you spend making it work will benefit you in the long run.
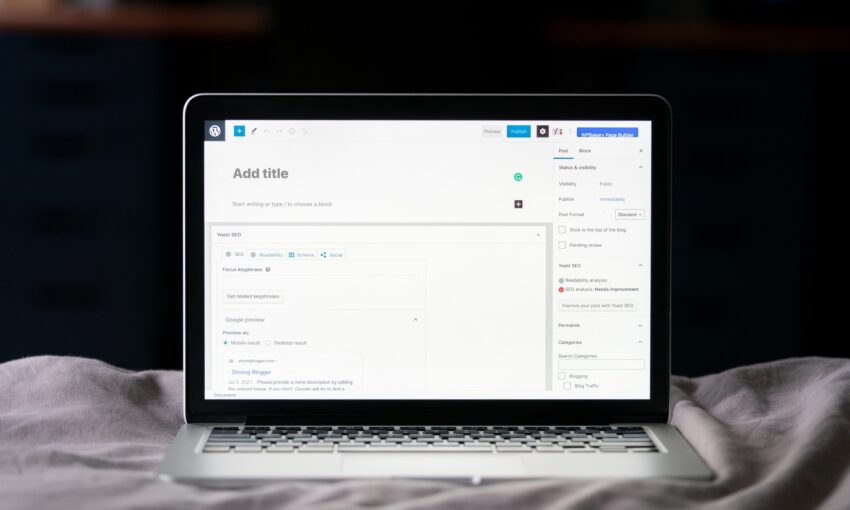
WordPress SEO by Yoast
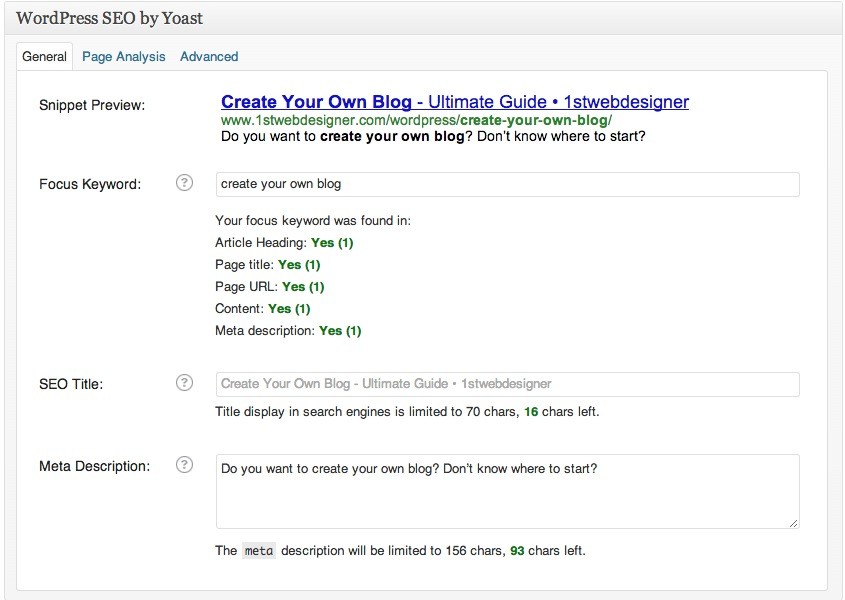
The best SEO plugin for WordPress to boost your website’s traffic from search engines. This is how people find your website based on your content and based on their searches. Based on your text content and keywords that you use, people will find you easier.
Everything from your first sentence, focus keyword, title, and page URL will help bolster your ranks on search engines. The plugin will straight up tell you what you need to do, especially under the Page Analysis tab. All you need to do is follow the instructions given.
The example above is a simplistic approach to things just to give you an idea of how it works. In reality, if you want to dominate search engines with your blog you will need to do keyword research and find the perfect keyword for you.
Sharebar
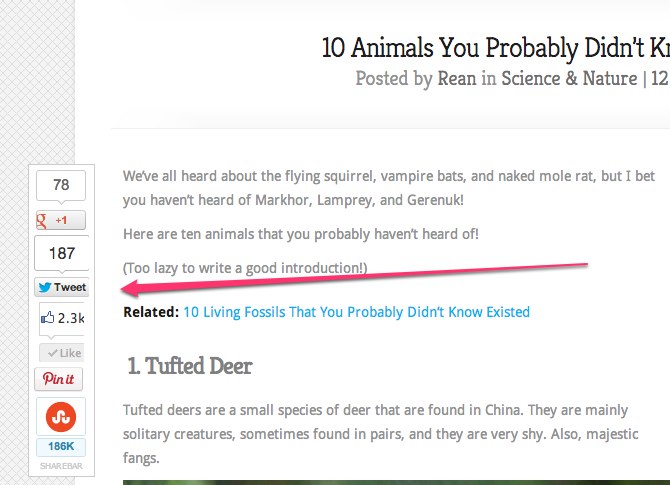
Social media buttons are a necessity today for websites to increase promotion across social media sites. How will people like or tweet or pin your blog post if you don’t have this cool floating bar right beside your blog post? It’s non-obtrusive and won’t make your blog run slow. I use it for my blogs!
LinkWithin

LinkWithin is useful for blogs with tens to hundreds of posts to boast, as it shows thumbnails of related posts at the end of each blog post. This will help your readers discover more of your blog’s content!
Disqus

Let’s admit it, the default WordPress commenting system is bland. With Disqus, you can encourage more discussions by activating numerous rewarding features, both for you and for the commenters.
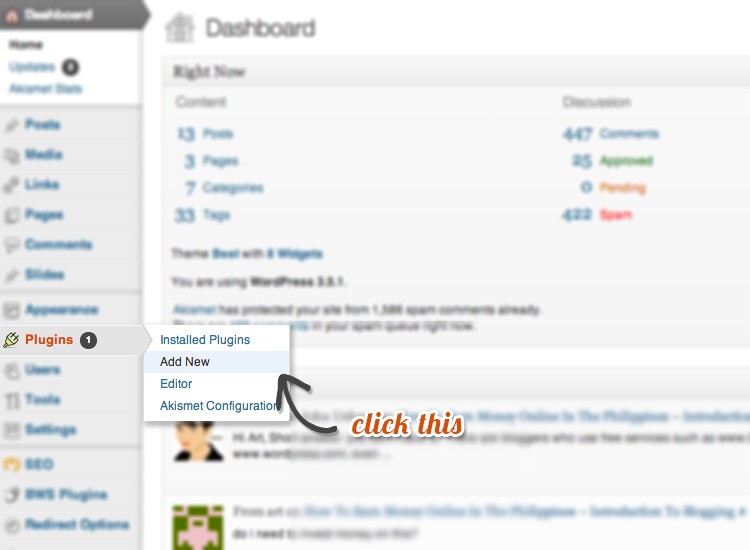
How to Install a WordPress Plugin
Pretty much the same as you do with WordPress themes, you just need to hover on Plugins then click on “Add New”.
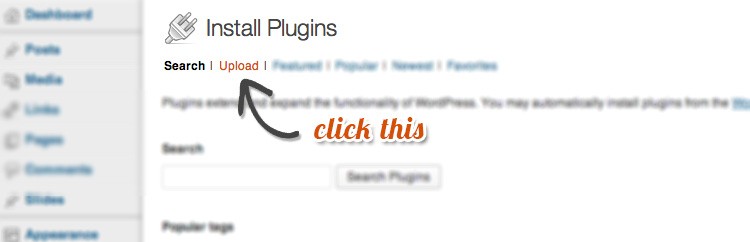
To upload a .zip file, just click on “Upload”.
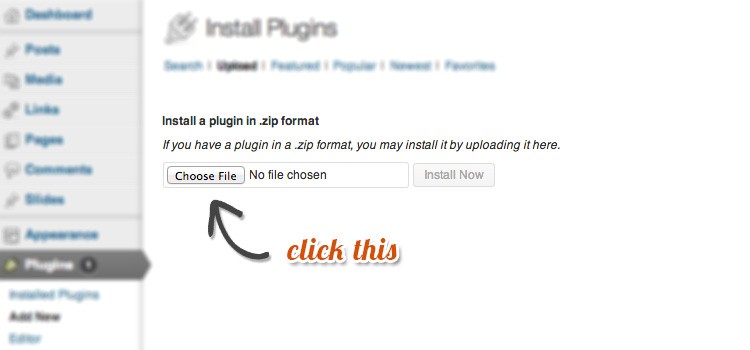
Followed by choosing the file and installing it. After this, all you need to do is click “install now” and “activate”.
To install using the built-in search page, simply click on “Search” and type what you are looking for.
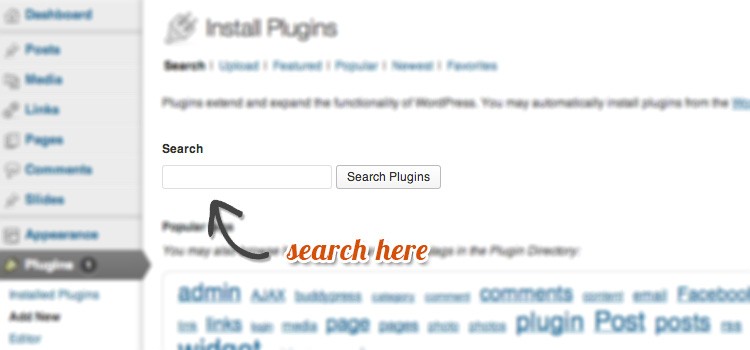
In my case I searched for “All in One SEO”.
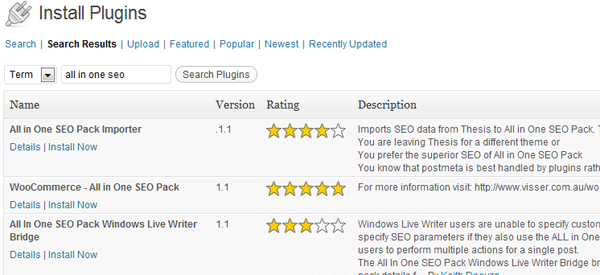
So, from here on it’s simple to follow. Just click on “Install Now” and you’re all set!
Showcase of Estalished WordPress Blogs
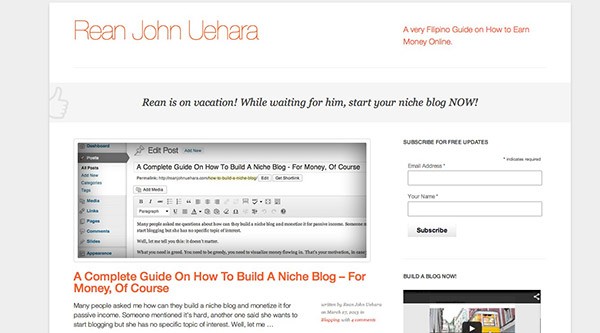
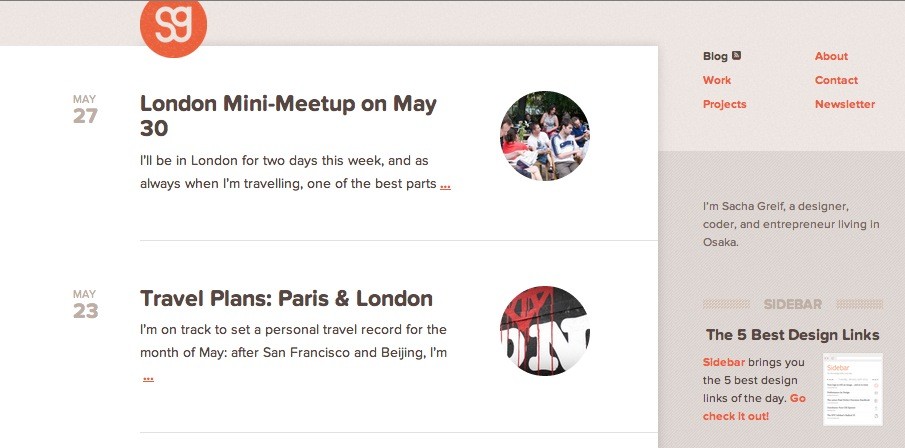
Sacha Greif
Sacha Greif is a designer from Paris who now lives in Osaka, Japan. He wrote the book Step by Step UI Design.
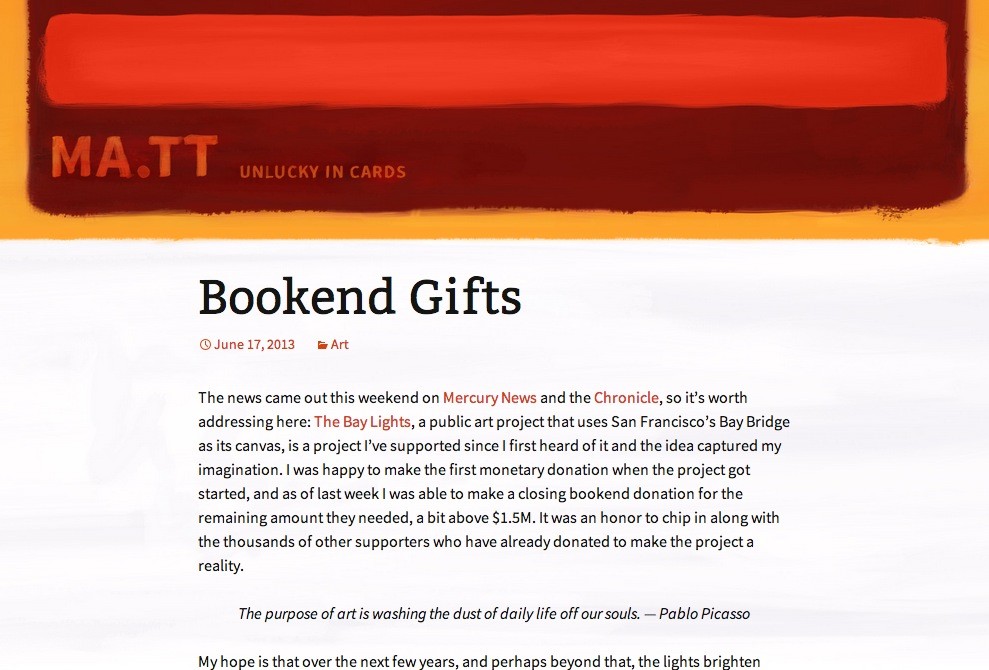
Matt Mullenweg
Matt Mullenweg is a founding developer of WordPress. On his blog, Matt shares his thoughts about the online world and other personal stuff.
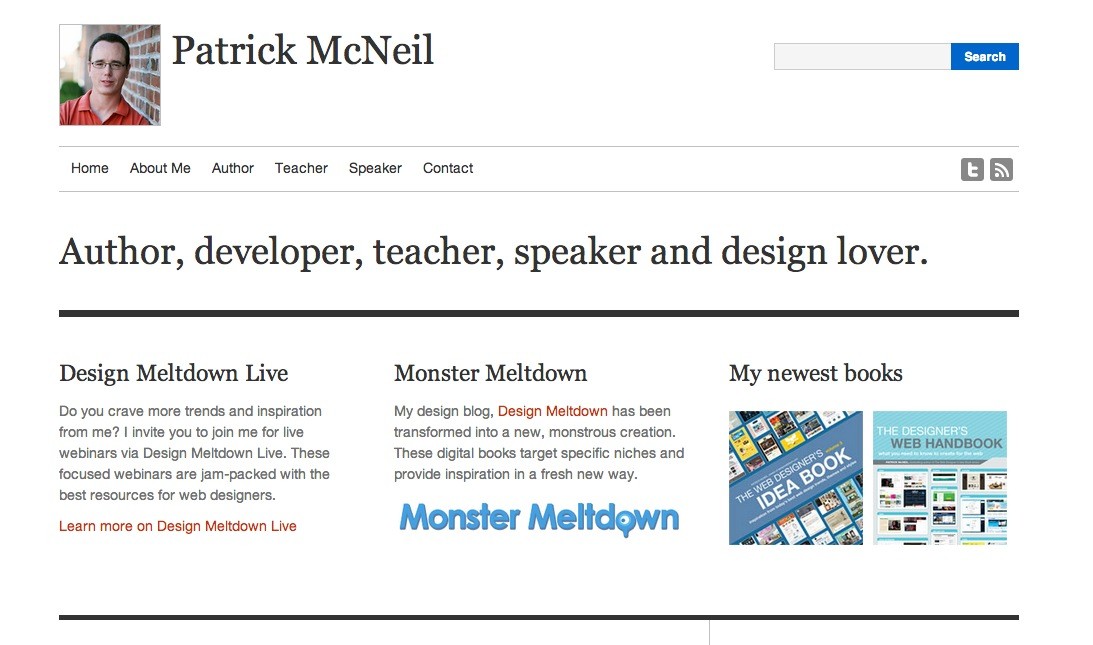
Patrick McNeil
Patrick McNeil is a developer, author, and teacher. He owns the blog Design Meltdown and authored The Web Designer’s Idea Book series.
WordPress Blogging Tips
1. Setup Automatic Backup to Dropbox
You can’t be certain what will happen to your website, so backing up your database and files on a separate location other than your server is highly recommended. It’s free and automatic!
2. How to Create a Favicon
What is a Favicon? Check your browser’s tab for 1stwebdesigner.com and you will see a small icon. You want to have one too? Sure!
Resources:
- Faviconer – this is where you will create your favicon, or you can design it using Photoshop or Gimp, just be sure to keep a 16×16 or 32×32 size.
- FileZilla – an FTP client so we can install FileZilla. WARNING: don’t fiddle around here too much since you will be dealing with your website’s files directly. Any changes will affect your live website.
Steps:
- Prepare your favicon (and don’t forget to name it favicon.ico).
- Using FileZilla, login to your FTP.
- Host: ftp.yourname.com (just change it with your own domain, prefixed by ftp).
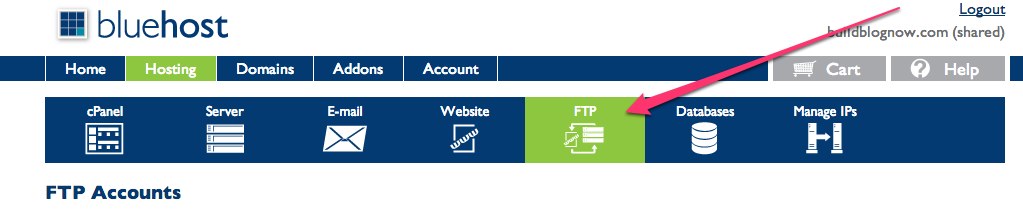
- Username: you can find this under FTP of your Bluehost dashboard.
- Password: the password you used to login on your dashboard.
- Port: usually it’s port 21
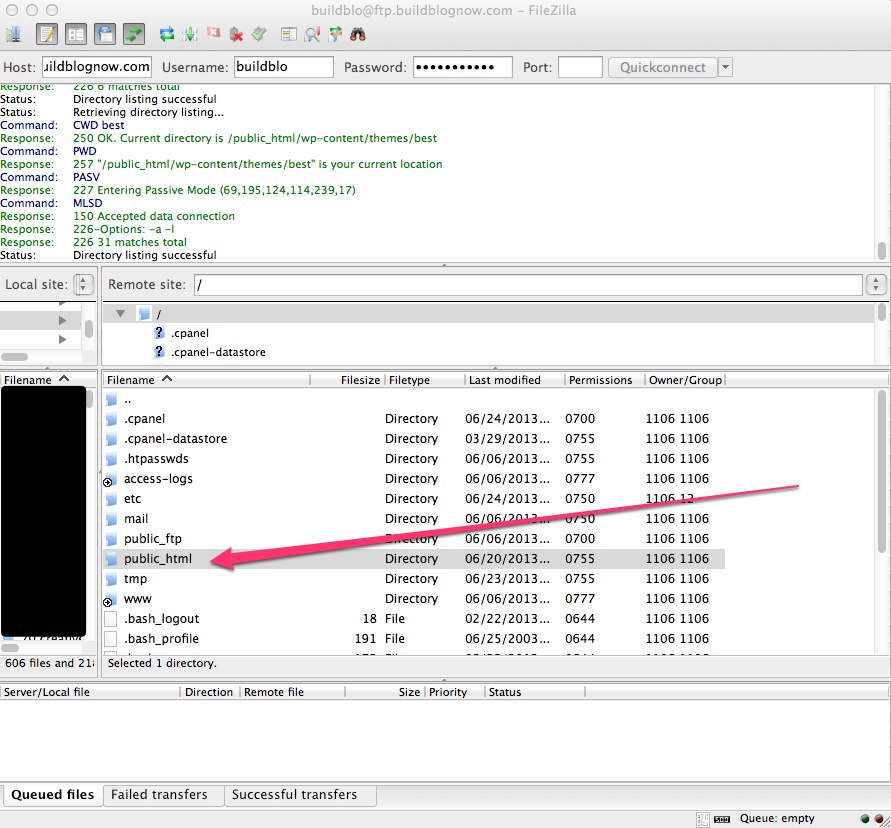
- Once logged in, you will see a list of folders to your right. Click on public_html.
- Upload your favicon.ico here, replacing the default one.
- Wait for the file to propagate!
- Profit!
Find your FTP details here:
This is how FileZilla looks. Click on public_html to find your Favicon.ico.
Easy, right? Just be sure to not tell anyone what your password is! This is basically the brain of your blog!
3. Facebook Like Box

Want this on your sidebar? I’ll show you how!
- First thing you need to do is to create a fan page.
- Next is to customize your Like Box.
Next is to fill up all the necessary fields and check/uncheck what you deem necessary.
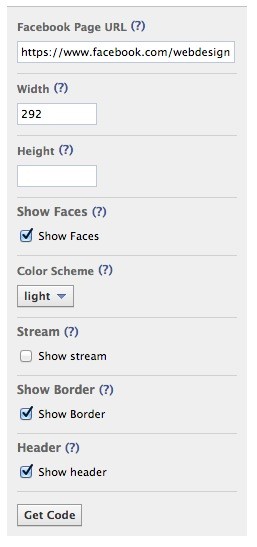
After setting it all up, click on Get Code. A window will popup and you’ll just need to copy the code.
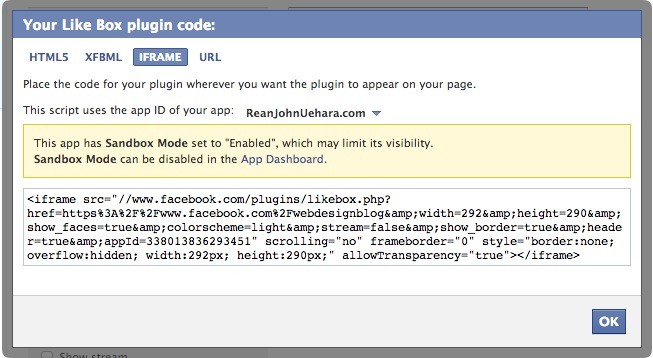
Hey, don’t judge. I’m lazy, so I just usually use the Iframe version. With HTML5 and the rest I’ll have to insert the code in two different locations, but with the Iframe version I’ll just have to paste it as a widget in my sidebar.
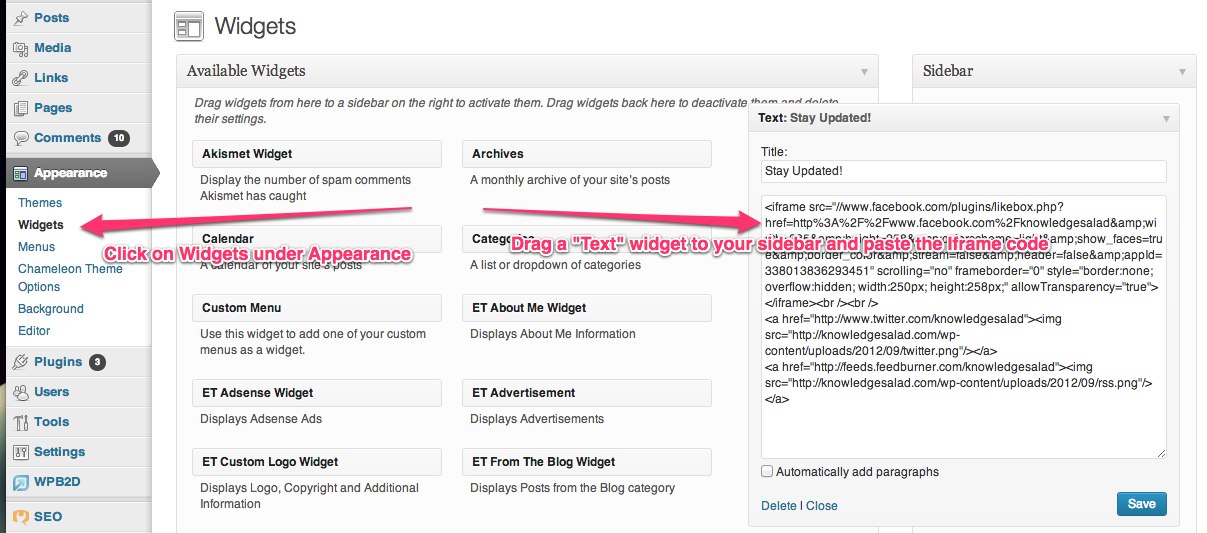
That’s it! You’ll soon see your Facebook like box on your sidebar.
Questions about your blogging setup?
If you have questions about your setup don’t forget to comment below! I will try my best to help you!
This post may contain affiliate links. See our disclosure about affiliate links here.